Home Blog Page 42

How to Access Blocked Websites in Google Chrome

Hello guys, Sometime we need to access country restricted sites.  Today i’m on this topic because indian government ban many of most popular sites (You know what i Mean).

Yes many popular sites (Porn Sites), Our Indian government banned approx 800 porn websites. So now as a Indian user you can’t access these sites. for accessing country restricted sites you can’t go out to other country also.

But I’m here to help persons who want to know How to Access Blocked Sites. Yes you can Access Blocked Sites from any country in google chrome browser.

Also Know: How To Protect Your Kids From Adult Sites On Internet

Trick to Access Blocked Websites in Google Chrome:

This trick to Bypass Blocked Sites done by a cool browser extension name Hola. Hola is a free and ad-free VPN proxy service that provides a faster and more open Internet.hola

  • First You have to install Hola Extension in your Chrome browser. Download from Here
  • Activate Hola Extension from chrome://extensions/. You will see a new extension Hola in browser toolbar.
  • Now open any website which is blocked in your country.
  • While you are on a website that is not accessible, just click the Hola icon in the browser toolbar.
  • Now your access should be restored.

Enjoy the trick to access blocked websites in any country. Don’t forget to share this trick to Open Restricted Sites. Now Access All Blocked Sites.


How to Upgrade Windows 7 or 8.1 to Windows 10 For Free

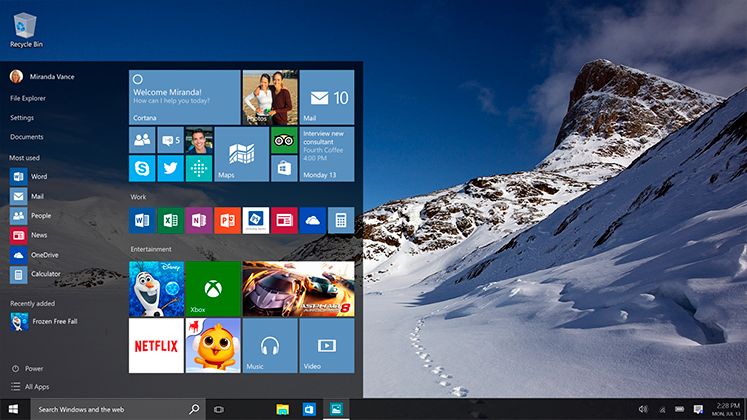
Guys Windows 10 Out in 29 July 2015>>>

Now you can upgrade your current windows into latest windows 10. If ou have reserved your windows 10 and you have not received notification from microsoft then wait you will receive notification shortly. If you have not Reserve Windows 10 Upgrade then scroll down to know how you can reserve your free copy of windows 10.

Recommended: How to Download Windows 10 ISO File Free in DVD or Flash Drive

How to Upgrade Windows 7, 8.1 to Windows 10

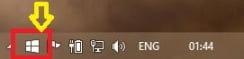
Yes, How you can upgrade your windows OS into latest Windows 10 OS. Check windows icon in tray area.

system tray

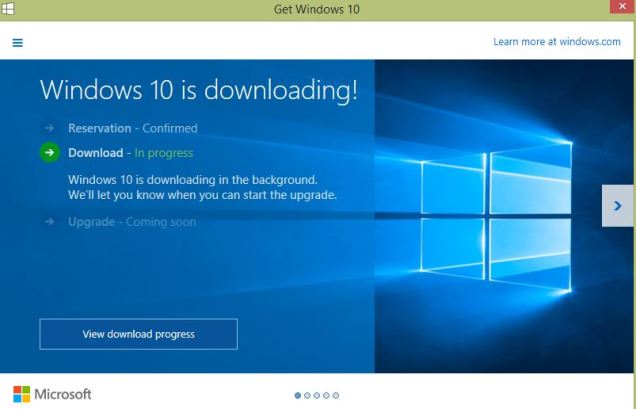
If your reservation is confirmed, then you see a message Confirmed. And your windows 10 will start downloading in background when you connect to Internet. Please make sure 2.7 GB download required for windows 10. windows 10 reservation confiremed

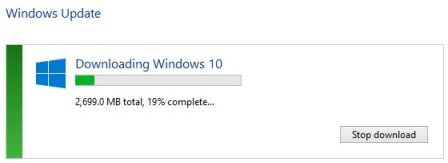
You can view your download progress in your system path: Control Panel\System and Security\Windows Update

windows 10 update

When Windows 10 download complete, Install updates and restart your system.

Now your system running on Windows 10 OS.

How to Reserve Free Copy of Windows 10

The upgrade notification is only displayed in the current windows operating system’s system tray area. If you don’t see this windows icon, check microsoft Q&A page for more info. system tray

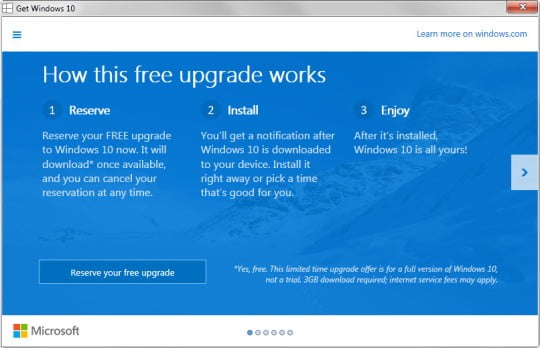
  • Click “Reserve your free upgrade” in the app window.windows 10 upgrade
  • Enter your email if you want a confirmation of this reservation.
  • All set. There’s no obligation and you can cancel your reservation at any time.

If your Windows 10 Upgrade Reservation is not confirmed yet. please wait for few days or week. you will surely receive your free copy of windows 10.

Or you can download windows 10 ISO file and save it on DVD or flash drive. Read Here

SEO Tags: Windows 10 Operating System, Download Window 10, Windows 10 Free Download, Free Upgrade to Windows 10

How to Download Windows 10 ISO File Free in DVD or Flash Drive

Windows 10 is now rolling out in 190 countries across the world for existing Windows users as well as those purchasing new PCs and tablets.

Its totally free to download from official Microsoft website. with windows 10 ISO file you can install or reinstall windows 10 anytime. From official Microsoft website you can free download windows 10 ISO file to create your own installation media using either a USB flash drive or a DVD.

Requirement to Free Download Windows 10 ISO File:

  1. An high speed internet connection (Approx 3GB download required)
  2. Sufficient data storage available on a computer, USB or external drive for the download.
  3. A blank USB or DVD (and DVD burner) with at least 4 GB of space if you want to create media. We recommend using a blank USB or blank DVD, because any content on it will be deleted.

System Requirements for Windows 10:

If you want to upgrade to Windows 10 on your PC or tablet, here’s the minimum hardware you’ll need.

Processor: 1 gigahertz (GHz) or faster processor or SoC

RAM: 1 gigabyte (GB) for 32-bit or 2 GB for 64-bit

Hard disk space: 16 GB for 32-bit OS 20 GB for 64-bit OS

Graphics card: DirectX 9 or later with WDDM 1.0 driver

Display: 800×600

How to Download Windows 10 ISO File:

So how you can get windows 10 ISO file free in DVD or flash drive.

If you are not using windows os in current system then you will find other options and you have to select windows 10 editions and then select product language. Now confirm and choose 32 bit or 64 bit version and download.

Guys share this guide for Windows 10 OS Free Download to your friends through social networks.

SEO Tags: Microsoft Windows 10 Download, Windows 10 Download ISO, Windows 10 Download 64-Bit

How to Use Aadhaar Linked Govt. Digital Locker to Store Documents

About Digital Locker:

Digital Locker is a service launched by Government of India to provide a secure dedicated personal storage space in the cloud to Indian citizens. Digital Locker is a program of Digital India Project by PM. The storage space (maximum 1GB) is linked to your Aadhar number. The space can be utilized for storing personal documents like University certificates, driving license, PAN cards, voter id cards, etc. These documents can be electronically signed using the eSign facility provided in DigiLocker. Member also share these electronic certificates online with various agencies while applying for the services provided by them.

How to Open Digital Locker Account:

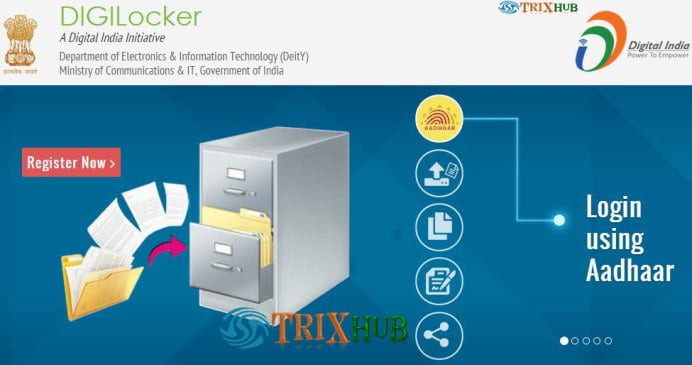
Step 1: First you have to register into Digital Locker through your Aadhaar number. So you have to open https://digitallocker.gov.in/.

Step-2: Once you’re on this site, it will ask you to register. Click on it and it will take to another window as:”Register for a DigiLocker Account”.

Step 3: Enter your “Aadhaar number” in the box. and select verification option ‘Use OTP or Fingerprint’. if you select OTP then you will receive one time password in your registered mobile number. For Fingerprint option you need bio-metric device to scan your fingerprints.

I recommend to use OTP option.

Must Read: 10 Must Follow Tips to Make Secure Online Transactions

Step 4: After selecting ‘USE OTP’ option. you will receive one time password into your registered mobile number and email id.

Step 5: Once you got OTP. Enter the OTP and select the validate OTP button.
Step 6: Once OTP is verified, you will be redirected to set your personal username/password to complete sign up process.

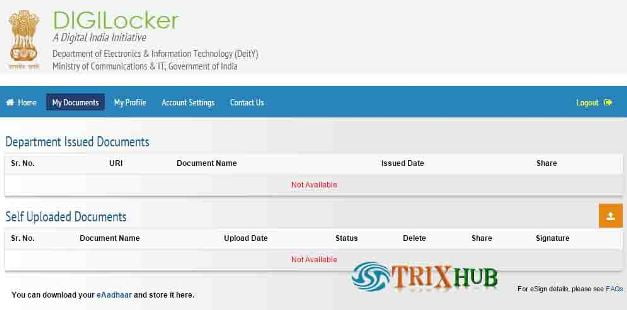
Step 7: After setting username and password, you will redirect to your DigiLocker India account. here you can upload your documents.

digilocker account

Document Types That Can Be Stored:

The system will allow user to store document of file types: PDF, JPG, JPEG, PNG, BMP and GIF. and

How to Easily Remove RAR Password-Two Methods

A RAR archive file can compress multiple files into one, which is well-done for ease of transport. So when you need to send some files to your clients, colleagues and friends, WinRAR can be one of the best choice to compress these files. In addition, you can also create a RAR password so that no unauthorized person can access the archive’s contents. But the only problem is that how to access into the RAR archives if you forgot WinRAR or RAR password? Is there any way to remove WinRAR password? There are two methods are available for removing RAR password.

Method 1: Remove WinRAR Password for None-password Protection

Sometimes, a password-protect RAR files can be too much hassle and need to be removed. So, if you know the password, you can remove it and then create a new archive file without a password. Below is the step-by-step guide:

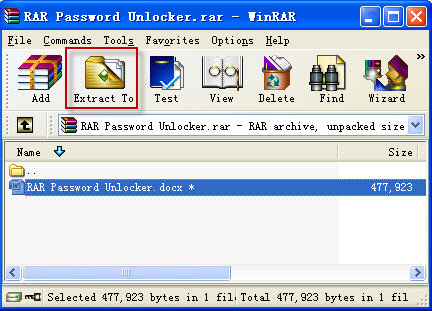
  • Step 1: Open the WinRAR software utility and right click on the RAR file that has the password you want to remove. Select Extract Files from the list of options.

  • Step 2: Click the RAR file’s password in the window that appears and click OK.
  • Step 3: Click OK button from the bottom of the next window that appears. This will extract the archive’s contents into a folder in the same directory that the RAR file is in.
  • Step 4: Right click on the new folder and select Add to Archive. This tells WinRAR that you want to take the files in the folder and place them in a new RAR file.
  • Step 5: Click the OK option in the window that appears. The files in the folder then will be added to a RAR file. Now you have successfully removed WinRAR password. When WinRAR finishes creating the archive file, you can access it without password protection.

Method Two : Remove WinRAR Password for Solving Password Forgotten Issue

In fact, you can still have the opportunity to remove RAR password with a RAR password remover if you forgot the RAR password to access into . There are various RAR password removers and RAR Password Unlocker is proved to be a helpful tool for users to recover forgotten RAR password with 3 efficient options for RAR password recovery. Moreover, it can accelerate the password recovery speed significantly by using advanced search algorithm, multiple-core CPUs and NVIDIA-GPU acceleration. Following is a simple guide to remove RAR password.

  • Step 1: Download and install RAR password Unlocker By Clicking here
  • Step 2: Run the program, and then click Open to import your locked RAR file
  • Step 3: Select attack type, and then click Start to remove RAR password

This RAR password remover software provides 3 different attack for you to remove RAR password: Brute-force Attack, Brute-force with Mask Attack and Dictionary Attack.

Option 1: Select Brute-force Attack

Brute Force Attack simply tries to guess the password by trying every single combination of characters until the password is found. So it is the most time-consuming method. If you have no idea on your forgotten RAR password, you can select this option and do as follows:

  • 1. Click Recovery in the task bar, and then select Brute-force Attack.
  • 2. Click Start button to remove RAR password.

Option 2: Select Brute-force with Mask Attack

This option is actually a variation from Brute-force Attack, which is more practical to remove the password. With Brute-force with Mask Attack, you can greatly reduce the recovery time by specifying the forgotten password length, characters, etc. If you already know some characters in the password, this attack can be your most suitable choice to do so.

  • 1. Click Recovery in the task bar, and then select Brute-force with mask Attack.
  • 2. Click Brute-force in the task bar, and set password length, character type and others if you remember.
  • 3. Click Start button to remove RAR password.

Option 3: Select Dictionary Attack

Dictionary Attack allows you to remove RAR password according to default dictionary of the program. Besides, you can add your own dictionary to the program in order to shorten the RAR password recovery time.

  • 1. Click Recovery in the task bar, and then select Dictionary Attack.
  • 2. Click Dictionary in the task bar, and make settings for dictionary Attack.
  • 3. Click Start button to remove RAR password.

When you forget RAR password, you can select one of the attack types to help you remove RAR password. The trial version of this RAR password remover can help you remove RAR password within 3 characters. So you can evaluate the RAR password remover before you make your decision.

Other Bonus Softwares to Remove RAR Password

  1. RAR Password Unlocker

  2. RAR Password Recovery

How to Know Which WordPress Plugin Slowing Down Your Site

Every WordPress user know the power of wordpress plugins. WordPress is popular because of its plugins but some plugins affect our site performance. But we don’t find which plugin is the reason behind site speed slowness. But now you can find which plugins are slowing down your site speed, here i got the solution. In this guide i will show you to find bad wordpress plugins and what to do next.

WordPress Site speed is a great issue for blogger. Every blogger must give attention on site loading. A fast loading site can get good traffic than a slow loading site. Also Google search Engine gives priority to fast loading site.

Recommended: Top 5 Free WordPress Plugins For SEO to Improve Ranking

To solve this problem, i’m going to share a awesome free wordpress plugin P3 (Plugin Performance Profiler) developed by Godaddy.com . This plugin creates a profile of your WordPress site’s plugins’ performance by measuring their impact on your site’s load time.

P3 (Plugin Performance Profiler) is a nice plugin which monitors your website, plugins, SQL Queries,Core File, Load time, resources usage, CPU Load and find out the plugins which are slowing down your site.

How TO Use P3 Plugin Profiller to Identify Plugins Performance:

  • First You just need to install P3 (Plugin Performance Profiler). Just go to plugins>> Add New>> Search P3 Plugin performance profiler and install it and activate.
  • After Plugin activation, Go to Tools>>>P3 Plugin Profiller.
  • Now Start Scan, and select auto scan.

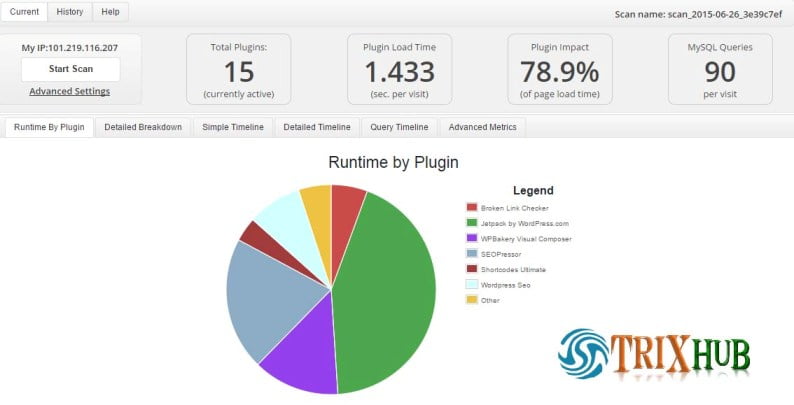
P3 Plugin Profiller will scan your complete wordpress blog. When scan completes, click on “View Results” and P3 WordPress Plugin will show you different charts and graphs for website’s runtime, Plugin Impact and SQL Queries for your site.

[su_button url=”https://wordpress.org/plugins/p3-profiler/” target=”blank” style=”stroked” background=”#db1234″ size=”8″ icon=”icon: check-circle”]Download P3 (Plugin Performance Profiler) [/su_button]

p3 plugin

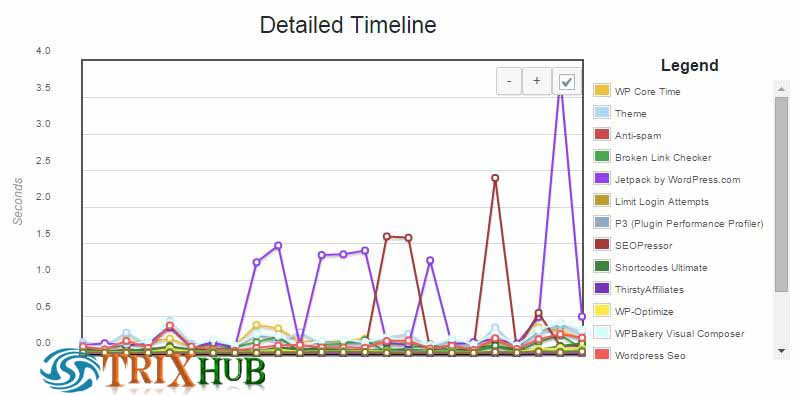
After That Click on Detailed Timeline Tab and it will show you the time taken by plugins, core files, themes etc. So here, you can easily check and find out which plugin is using excess resources.

plugin load time

Note: Some Plugins runs on specific pages of your website like, if you are using a slider plugin for homepage etc so to check those plugin’s performance, you need to Test Page Loading Time for specific pages.

To run page specific scan, choose manual scan and then visit that specific link.

Also Read: 12 Things To Do Before Starting A New Blog

What to Do After Checking This Report:

After scanning and analyzing your site plugin performance report. If any of your plugin taking long time to load, we recommend simply remove this plugin from your wordpress blog. Also must use Cache plugin into your site. Also you must check these 20+ Essential WordPress Plugins for Bloggers

Information on P3 (Plugin Performance Profiler):

Requires: 3.3 or higher
Compatible up to: 4.1.5
Last Updated: 2015-4-20
Active Installs: 100,000+

[su_button url=”https://wordpress.org/plugins/p3-profiler/” target=”blank” style=”stroked” background=”#db1234″ size=”8″ icon=”icon: check-circle”]Download P3 (Plugin Performance Profiler) [/su_button]